What a photograph needs before it is printed
The picture that looks sharp in your hand is about to be printed two and a half feet wide, or cut out of its background and repeated round a sock. Both do things to a photograph that no amount of care afterwards can undo, and both are predictable before you upload it.
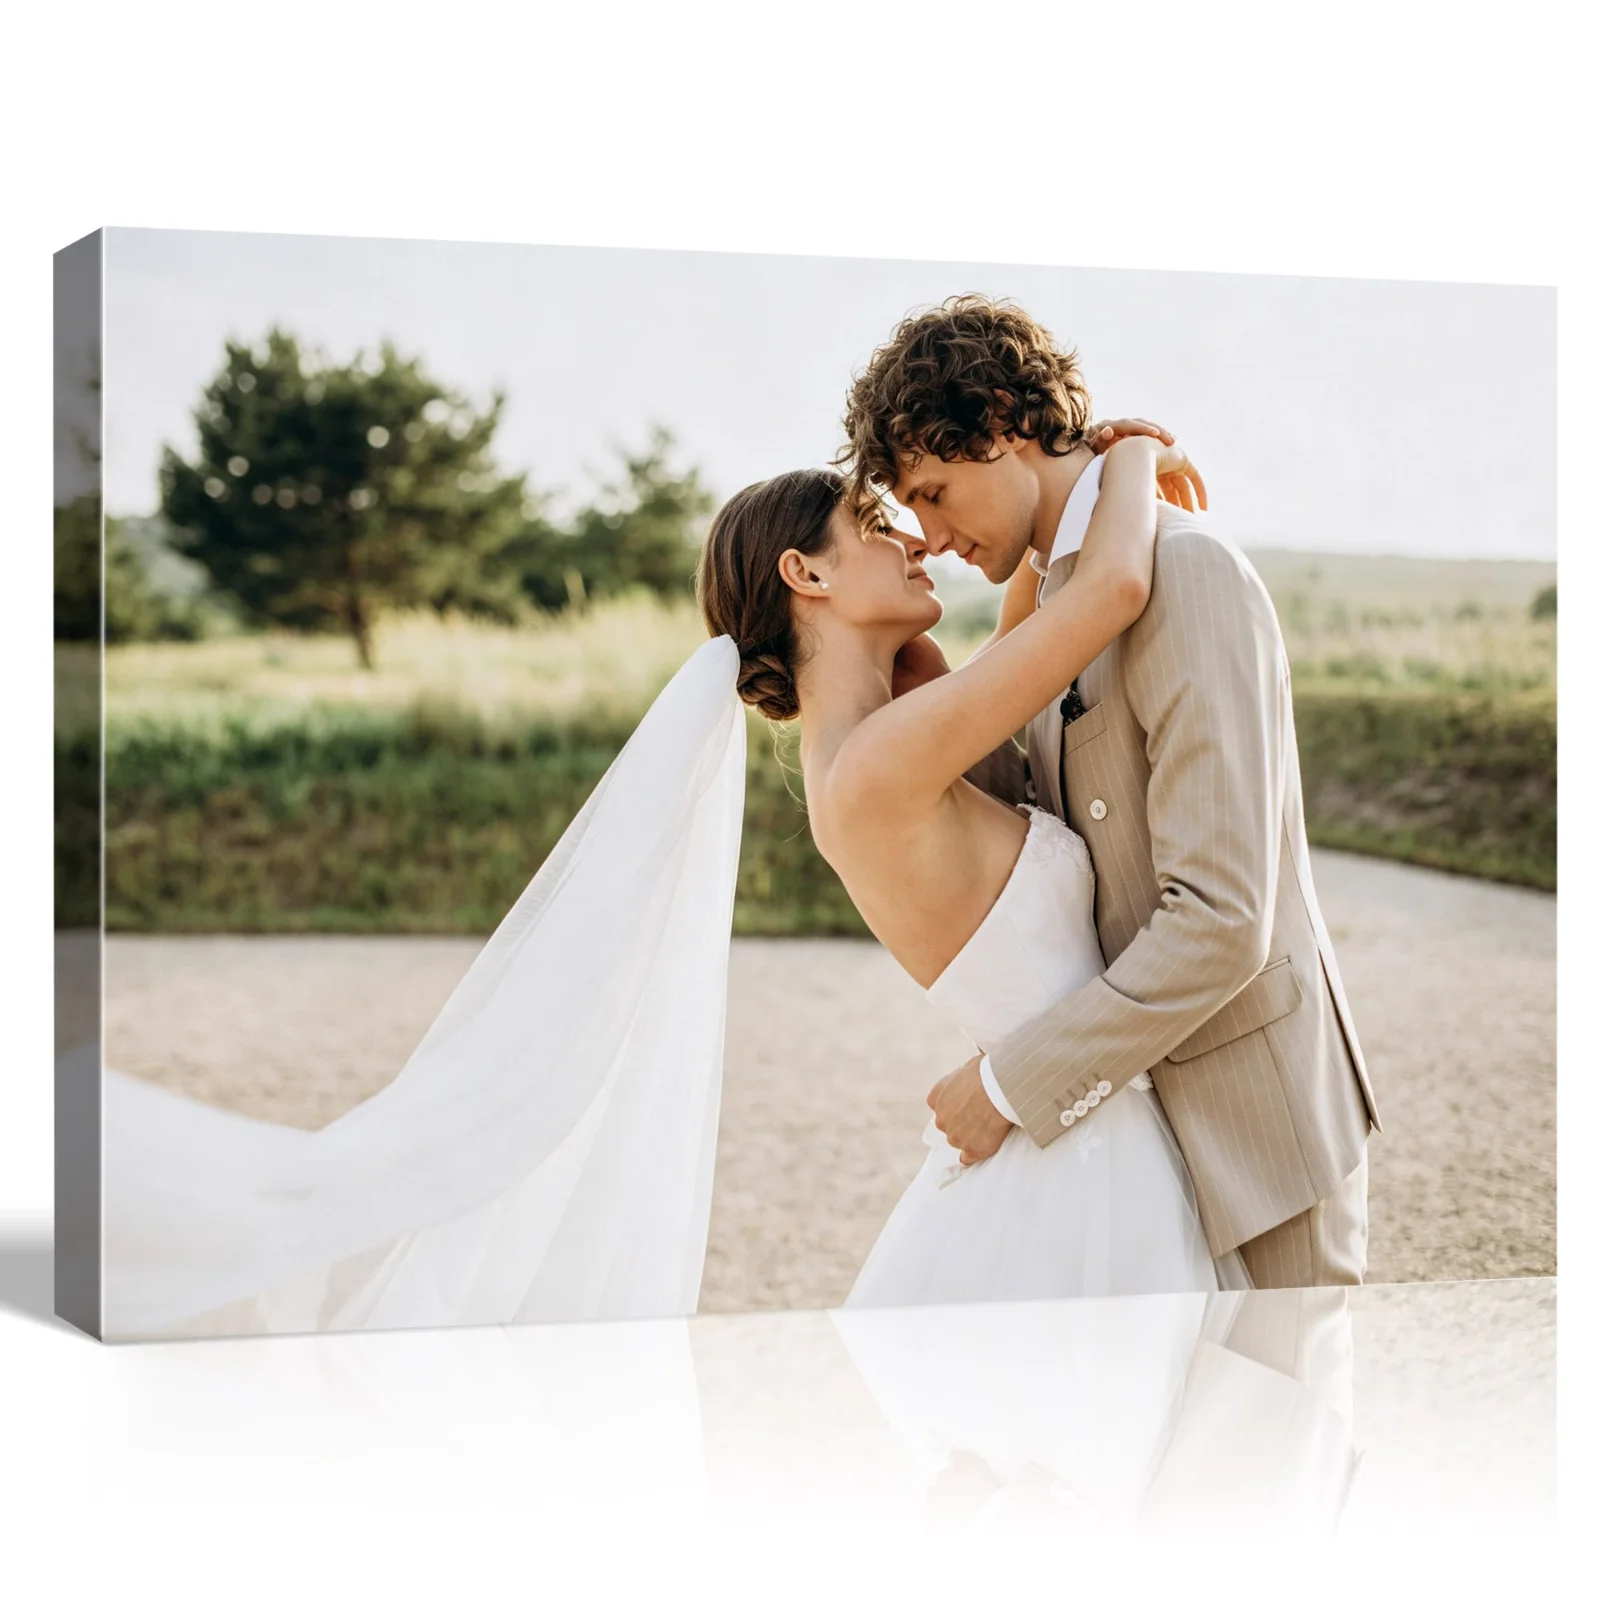
The picture is about to change size, not quality
A photograph on your phone is about to be scaled, not rewritten. The pixels and the detail that exist in the original file are the only detail that will appear on the finished item. Nothing done after you upload can add fine edges, recover lost texture, or invent detail. That fact governs every decision you make before you press upload.
Think about distance. A picture taken close puts more detail where the printer needs it. Natural light spreads detail across the subject; dim indoor shots concentrate noise and blur. Choose a photo where the subject is large in the frame and well lit. That combination survives enlargement better than any edit you might try later.
Start with what is going on the cloth. A blanket takes one photograph across the whole of it, or a grid of up to ten. That choice decides how much of each picture survives: fifty by sixty inches is a little over four feet across, and at that width a single portrait wants air around the face rather than a tight crop.
Expect edges to matter. When a face or object meets the edge of a print, the printer cannot invent surrounding space. Leave breathing room in the frame. A tight crop may look intimate on a phone screen but will lose context and might appear awkward on cloth or canvas.
Decide on orientation before you pick the image. Portrait, landscape, or a square crop shifts where detail must sit in the composition. Make that choice with the end product in mind, because your photograph already contains everything the printer will ever be able to show.
What enlargement does to a phone photograph
Enlargement spreads what is already in the file over more surface area. The printer’s job is to interpret pixels and lay ink or dye accordingly. Grain, compression bands, and soft focus become more visible when those pixels cover many inches. The result is not always a defect; it is simply a change in how the original appears.
If you zoom in on your image to crop it tight, you reduce the number of pixels available for larger prints. That reduction is permanent. A close shot taken in daylight keeps the subject large in the frame, which means more of the original detail will map to a larger print. That pattern is what survives enlargement most reliably.
Compression from phone cameras and apps can leave blocky edges where smooth transitions should be. Those edges often show as artifacting when enlarged. Avoid heavy filters that blur or flatten texture; they remove local contrast and fine lines that help an image read at size. Sharpening after the fact may help visually on screen but cannot recreate lost fine detail.
Watch for motion blur as well: small camera movement, or a subject who moved, softens the outline that the cut has to follow. When the printer enlarges the image, softness spreads into larger, less defined areas. A clearer, steadier source makes a sharper print.
Finally, any edit you make cannot add information that is missing. Cropping, brightening, and contrast adjustments can change emphasis. They cannot recreate edges and textures that were never captured. Choose the clearest original you have.
The cut-out, and the edges that defeat it
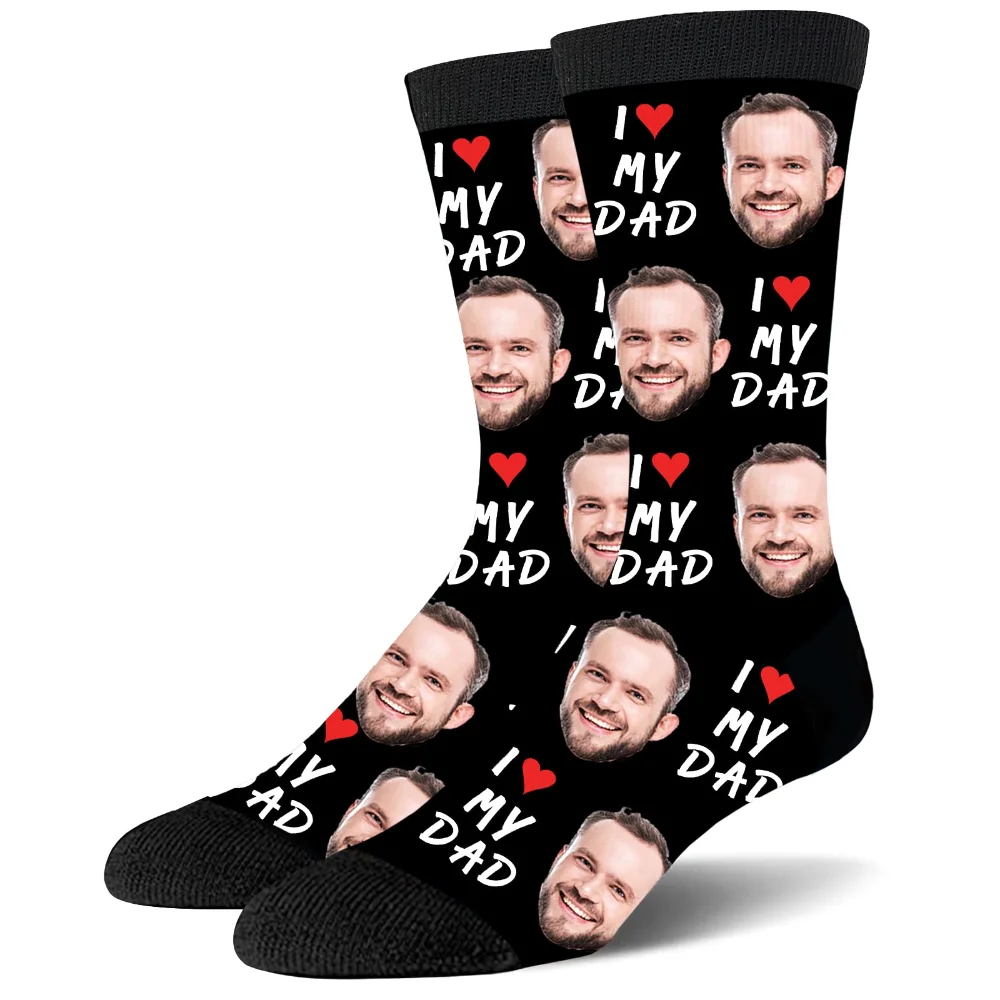
A cut-out requires clean separation between subject and background. On socks the face is cut out of its background and repeated round the foot and up the leg, with a short line of text under it. Heat transfer prints those cut shapes on a stretch fabric that moves with the foot. That process reveals any ambiguity along the edges.
Some common elements defeat a cut-out. A hat brim crossing the forehead makes a single silhouette into many overlapping planes. Sunglasses remove visible eyes and break the expected facial planes. Hair across a jaw blends subject and background in irregular ways. A profile rather than a face square to the camera complicates the cut, since one side of the head will read differently. A busy background directly behind the head confuses automated edge detection. Any of these things can cause the cut to include unwanted bits of background or to truncate hair and features.
Pick a photograph that isolates the head cleanly. Space between the head and anything behind it helps the cut algorithm separate foreground from background. If you want the face to repeat and wrap naturally around the sock, choose a photo where the subject faces the lens squarely and where the hairline is distinct. A plain or softly blurred background makes the cut simpler and more reliable.
The fabric matters too, because polyester with a touch of spandex stretches and moves as a foot goes into it. Edges that are crisp on a flat image can look softer once the sock is worn. Keep key features central in the crop to avoid distortion when the foot flexes.
Faces, and how much of the frame they need
How much of the frame a face occupies determines which details will remain visible across different products. A face that fills a large part of the frame keeps eyes, mouth, and expression clear when enlarged. A distant face sacrifices those subtleties. Photographs taken close and in daylight generally place the face large within the frame, and that composition tends to survive printing.
Eyes are a visual anchor. When they occupy a sensible portion of the frame, distance and personality remain readable on blankets, canvas, and small items alike. If the face is tiny in a scene, the eyes and mouth reduce to shapes rather than features. That change affects emotional read; nothing in post can restore those small features.
Straight-on faces are easier to crop and reproduce. Profiles introduce uneven outlines that may lose detail at the jaw and the ear when scaled or when a cut-out is required. Angled faces can work well when the subject is close and well lit, but they demand more careful placement in the layout.
Keep background contrast in mind. A clear background separates the head from its surroundings and makes edges crisper for cut-outs or tight crops. Complex patterns behind the head reduce edge clarity and increase the chance of stray background elements appearing in a cut or print.
Think about the final item’s viewing distance. Blankets and wall prints are viewed from a few feet. Small items like beads and bracelets are inspected closely. Compose with the intended object in mind so the face takes the right amount of the frame from the start.
Ten pictures are not ten times one picture
A grid is not a larger version of the same decision. Every picture in it lands on a fraction of the cloth, so the wide shot that would carry a whole blanket on its own turns into a smudge among nine neighbours. What holds up at that size is a face near the middle with a background that is not arguing with it.
When the blanket shows a single photograph across the whole cloth, the impact comes from how the original fills the available area. A wide landscape or a portrait taken close can carry across large dimensions without awkward tiling or repetition. A grid, by contrast, divides attention. Each picture competes for focus and must hold up when viewed at a smaller size.
Multiple images need consistent treatment. Varying light, wildly different crops, or distinct focal lengths across the ten will make the grid look uneven. Selecting a set that shares lighting conditions and subject scale helps the final piece read as a considered collage rather than a jumbled assortment.
Bear in mind the physical size of the blanket you choose. A 50 by 60 inch blanket is a little over four feet wide. The grid must be designed so each image still has room to breathe at that width. If you place small, detailed photographs into the grid, fine features will become insignia rather than detail.
Cropping matters more once several pictures share a face, and nothing done afterwards rescues a composition that was wrong at the start. Choose photos where the main subject sits well within the frame so that reduction does not clip essential parts.
| Product | What is printed | Size | Photo needs |
|---|---|---|---|
| Blanket | One photograph across whole cloth, or a grid of up to ten | 30 by 40, 40 by 50, 50 by 60, 60 by 80 inches; a 50 by 60 inch blanket is a little over four feet wide | Picture that fills the intended area; close daylight shots survive enlargement |
| Socks | Face cut out of its background and repeated round the foot and up the leg, with a short line of text under it; printed by heat transfer on 95% polyester, 5% spandex | Wraps around foot and leg; no single flat dimension | Face square to camera, clear hairline, plain background for reliable cut |
| Canvas | Framed prints with fade-resistant inks and hanging accessories included | 10 by 8 inches and 12 by 8 inches | A high-resolution photograph with a clear background |
| Photo bracelet | Photograph inside a small stone with a lens; view by looking into it or shining light through it | Small, lens-bearing stone set into a bracelet | Clear uploaded image; the clearer the image, the better the projection |
Small and framed: what canvas asks for instead
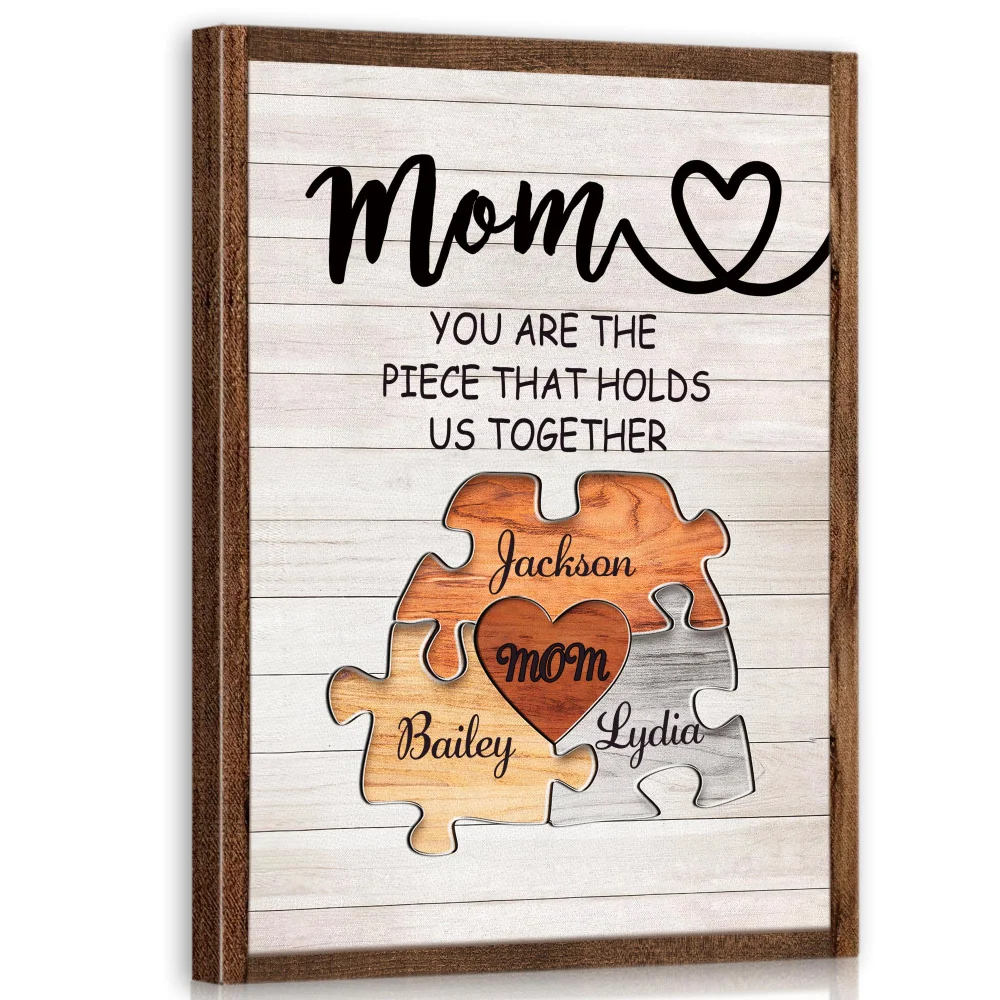
A small framed canvas has different demands from a large blanket. At 10 by 8 inches or 12 by 8 inches the print is close to eye level and examined at a short distance. Framed presentation and included hanging accessories mean viewers will stand near the piece. Small prints therefore reward images with composed detail and a clear background.
The canvas product page asks for a high-resolution photograph with a clear background. That instruction is practical. When an image has a simple backdrop, the frame emphasizes the subject rather than visual clutter. High resolution gives the printer more information to place ink precisely, which matters when small details are visible up close.
Lighting plays a large role. A subject shot in bright, even light will show subtle textures and soft shadow transitions that read well on canvas. Harsh or low light compresses detail into blocky shadows or noisy regions that are more apparent at close viewing distances.
Framing decisions should account for the canvas sizes. Tight head crops can feel claustrophobic at small scale, while too much empty space can make the subject seem distant. Compose with the intended canvas size in mind so the subject occupies a proportion that feels natural when framed.
Finally, remember permanence. Fade-resistant inks are specified, but that characteristic depends on accurate reproduction of the original. A clear, well-lit photograph gives the printer what it needs to render color and edge cleanly. Nothing after upload can restore lost texture or reintroduce fine lines. Select the best original you have.
The photograph inside a bead
A photo bracelet reduces an image to a very small plane, then places that image inside a small stone with a lens. You look into it, or shine a light through it, and the clearer the uploaded image, the better the projection. The optical trick enlarges what is already there but relies entirely on the original’s contrast and clarity.
For this object choose a simple composition. High contrast between subject and background helps features resolve through the lens. Faces should be clear and central. Complicated backgrounds and fine, distant detail will compress into indistinct patterns once reduced to a stone-sized image.
Light affects projection. A bright, evenly lit photograph gives a higher apparent clarity when you peer into the bead. Shadows can add definition, but deep shadow across key features will read as loss of detail. Photos taken close, with the subject large in the frame, preserve the most recognizable features when reduced.
The upload is the last point at which anything can change. You upload the photograph at checkout with our retail partner. We never see it, and that step is the last one at which anything can be changed. Any edits you apply before sending the file must be done on the original or on a duplicate at the same resolution. Do not expect sharpening or cropping after upload to restore information that was not captured.
In short, treat the bead as an intimate viewer rather than a billboard. Choose a clear, well-lit picture with a simple background, and the small lens will carry the image into a readable, personal object.
Three more pieces like this one sit in the journal, the people at Yofair keeps every nameplate, bracelet and blanket one click away on the front page, and the sources behind every statement about metal, about the law and about where a baby sleeps are listed on how we update the catalogue.